
Potting For Crayfish
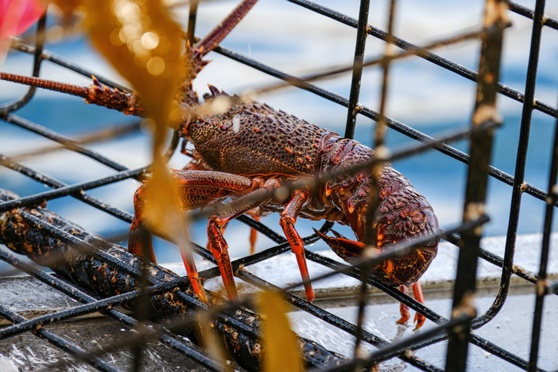
Although Sam Mossman occasionally encounters a cray when snorkelling for pāua, nearly all his cray fishing has been with pots.
The pot or trap is an age-old method of catching crustaceans. Māori had developed their own craypots (taruke) before the arrival of Europeans, often making the familiar beehive shape from supplejack vine. Over the 55 years or so I have been involved with cray potting, we have tried a range of pot designs and building materials (including supplejack vines), and eventually settled on a rectangular design made of steel mesh. These are robust, have quite a few years of use in them, and catch well.
Rules
Here are some of the regulations concerning pot design:
• Round or beehive pots must have at least three escape gaps or apertures (other than the mouth).
• Square or rectangular pots must have at least two escape gaps or apertures (other than the mouth) in opposite faces of the pot. Each aperture shall not be less than 80% of the height or length of the face of the pot in which the apertures are contained.
• Each aperture shall have an inside dimension of not less than 54mm x 200mm.
• Any pot constructed entirely of unaltered spot-welded mesh with inside dimensions of 54mm x 140mm does not have to have escape gaps or apertures, but pots must be used without covers or liners or have covers or liners that leave unencumbered at least 80% of the surface area of each of two opposite sides.
• No escape gap or aperture shall be incorporated in either the top or the bottom of any pot.
• You must have your initials and surname permanently and legibly marked on both the surface float and pot.
Escape traps are designed to allow undersized crays to exit the pot without handling. Some of the old boys grumble that escape gaps also allow the cray’s great enemy, the octopus, easy access into the pot (if you find empty cray shells in the pot, an occy is usually responsible), but octopus are pretty smart and I am sure they would find a way in, escape gaps or not.
There are regulations on the number of pots that you may use:
• Individuals may use, set, or possess up to three rock lobster pots in any one day.
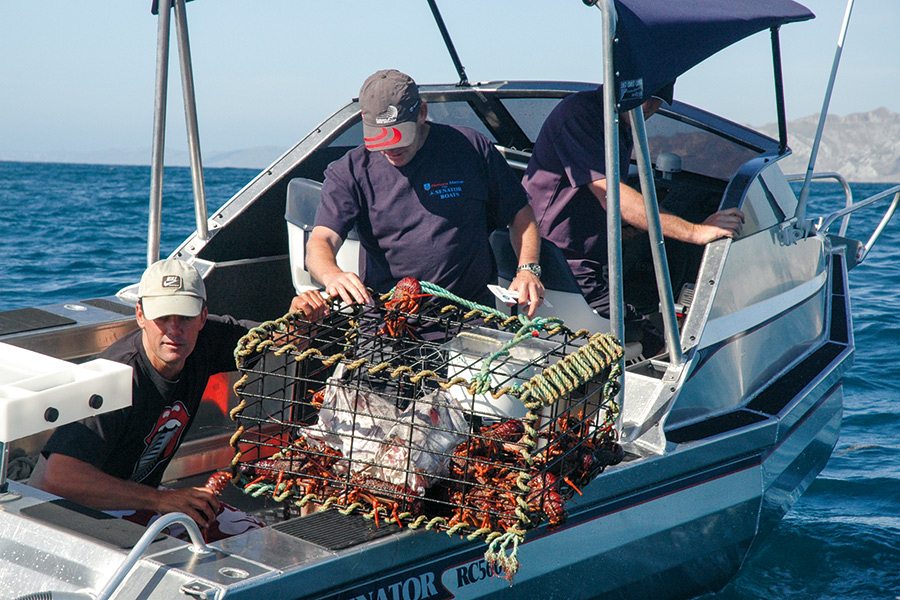
• Two or more individuals fishing from a vessel may use, set, or possess up to six rock lobster pots in any one day.
• Soft shell, females in ‘berry’ and undersized crays are off-limits.
• Recreationally caught crays must be marked by telson clipping – shortening the centre fin in the tail.
These regulations apply in most areas but may vary in some regions so be sure to check local regulations before going fishing.
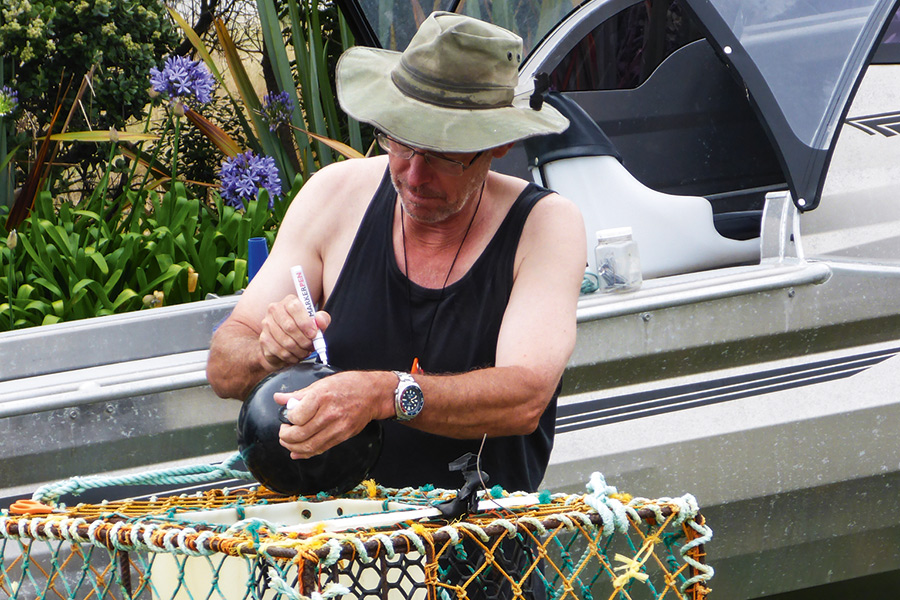
You must have your initials and surname permanently and legibly marked on both the surface float and pot.
Hot pots
Here are some other hints on pot design which may make your pots more effective and save you a bit of bother:
• Rectangular pots seem to fish better than round ones. I suspect this is because crays like to back into corners where they feel safe. Some people like to enhance this feeling of security by adding some sacking, flax or cord to part of the pot.
• The entry hole is often lined with a section of plastic from a bucket or drum, making it easy for crays to get in and harder for them to climb out. Some prefer white plastic, as it seems to attract crays’ attention.
• Most crays can eventually find their way out of a pot. Encourage them to stay and feed by using plenty of bait.
• We used to use fish frames tied into the pots through the eye sockets as bait, but bait cages either built-in or tied into the pot prolong bait life and keep the crays there longer.
• Anything dead can be used as cray-bait, but some things work better than others. Fish frames are my favourite; gurnard, tarakihi or blue cod being an ideal size to fit in most bait cages.
• Rusty old pots seem to fish better than new shiny ones.
• Sacrificial anodes added to pots will prolong their life greatly.
• Use a decent thickness of rope on the float line; thin ones are hard on the hands.
• Over-long ropes are a hazard to navigation and much more likely to be accidentally run over by boats and cut off.
• Nylon ropes sink and while more expensive than polypropylene ropes (which float), will last longer and are less likely to be run over.
• Add some decent-sized weights to the bottom of the pot so that it sinks vertically, sits upright on the bottom, and is less likely to roll over.
Big baits, like these two hapuku heads, encourage the crays to stay longer in the pot.
Setting and running your pots
As you must put your name on the floats, number them as well and set them in a pattern (such as a straight line). Take careful note of where you set them, either with landmarks or GPS. This can save a lot of searching when you check them and the number will tell you where in the pattern you are and which pots you have already done.
Obviously, crays like rocky bottoms with plenty of cover and feed, so this is where you should be setting your pots. Initially, set them in a line running from shallow to deeper water until you have located the depth that is fishing best, and then concentrate your pots along that depth.
Run your pots every morning, weather and tides permitting; this helps reduce octopus-related casualties. Get out there early (first light) as crays that have been feeding overnight will have less time to find a way out of the pot.
Getting out there early may help beat the two-legged burglars, too. Unfortunately, there are plenty of these ratbags around who will run everyone else’s pots, but they don’t like going about their thieving ways if there are other boats around to see.
Some years ago, I was staying with a mate at his batch. The cray fishing had been poor the previous week, he told me, with just the odd undersized one in the pots. The next morning, I dragged him out pre-dawn to check his pots. There were heaps of ‘takers’ in the first couple. Then, at first light, just as we were pulling the third pot, a boat came buzzing in from down the coast. It belatedly spotted us, stopped about 400m away, then abruptly turned around and headed back the way it had come. You did not have to be Sherlock Holmes to work out what had been going on...
A few years ago, there was a timed release link developed that held the float underwater and then released it after a set period. I don’t know if they are still available, but they may be worth investigating if you have a heavy poaching problem. The other thing you can do, if you have some hard information, is to dob the bastards into Fisheries. They may be professional poachers or just amateur thieves, but, likely, they won’t be sticking to bag or size limit regulations either.
You are allowed to take six spiny reds per person per day in many regions, but not all. For example, the limit between Te Arai Point (north of Auckland) and Cape Runaway in the Bay of Plenty has recently been reduced to three spiny reds per person per day, although you can top up to a total of six crays with three packhorse crays (if you can catch some). Again, be sure to check your local regulations before you start fishing.
Be careful when pulling the pots. Getting the rope wrapped around the prop can get you in a lot of trouble, especially if there is a big lift and you are in shallow water. Should you get the pot jammed in the bottom, be extra careful. If you tie the rope off short to the boat or take extra wraps around a capstan (if you have one) and a big swell comes along, it can result in a capsize, especially with the extra leverage provided by a davit arm. This has resulted in loss of life in the past.
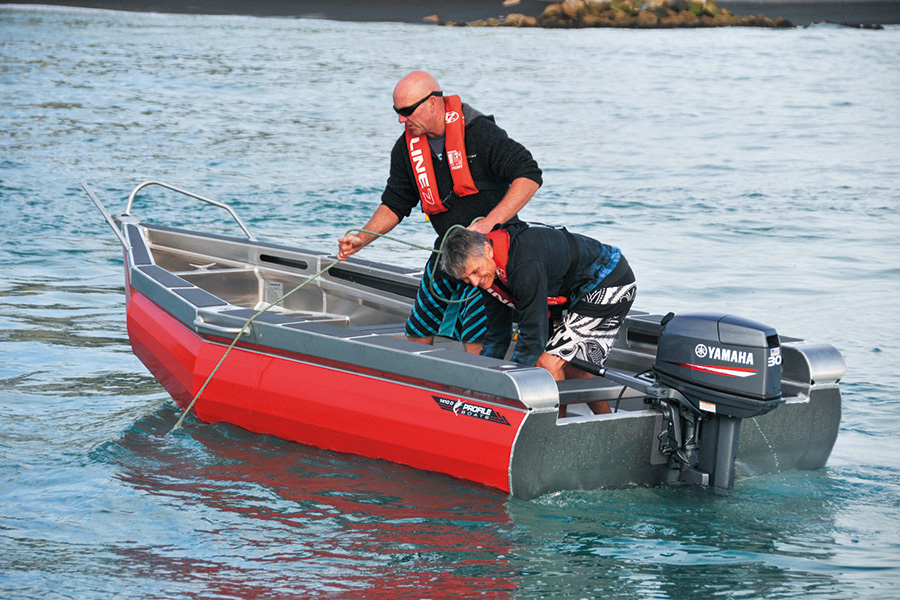
Potting is doable from even small boats; pontoon designs are ideal because of their stability.
Kill ‘em and cook ‘em
Having ended up with a few keepers in the bin, you must kill them before you cook them. Dropping them alive into boiling water is considered cruel and can also cause the legs to fall off. Accepted methods of killing crayfish include putting them in an ice slurry for a minimum of 20 minutes, or in a freezer for at least half an hour. Crays are cold-blooded and if their body temperature is reduced enough they will just ‘shut down’ and die without suffering. Another method often used is to put them in a bucket or bin of fresh water, which will also see them off in a short time. To check, pick them up by the over-the-back grip. If the tail and legs sag down and don’t move, the cray is dead.
There are many ways to cook crays, but I will leave the more complex recipes to experts like Al Brown and other culinary luminaries. Personally, I just boil them. The worst thing you can do to a cray is over-cook it, so timing is of the essence. We will come to this in a moment.
First, you need some water, and it needs to be salt water – bring a bucket of clean salt water with you when you come back from running the pots. If you forget, adding salt to fresh water is an acceptable alternative. You will need a decent-sized pot to take the cray; folding up the tail and snapping off the feelers will help if necessary.
The crays need not be fully submerged – as long as the pot has a lid, steam will do most of the job. Now bring the water to a boil, drop the cray/s in and from the moment the water starts boiling again, if the bugs are of normal size (read a couple of millimetres over the limit), leave them for seven minutes, then remove them to drain and cool. Big ones may need a minute or two longer, depending on their size. With their snapped-off feelers facing down, put them in the sink or hang them from the clothesline or the tent guys and let them drain off excess water.
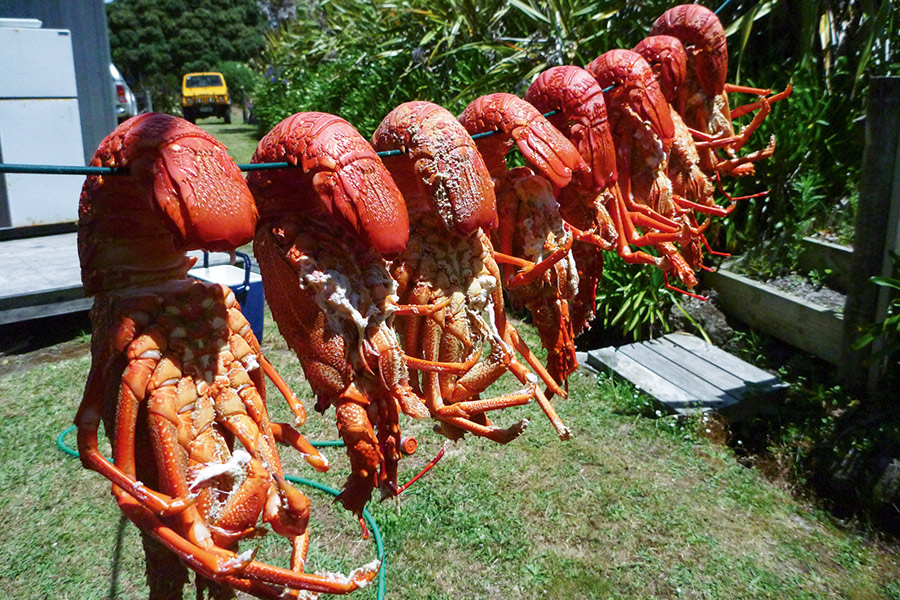
After about seven minutes of steaming, hang the crayfish head down to drain excess water.
Breaking down
Breaking down a cooked crayfish for eating is not difficult:
• First, grab the body in one hand and tail in the other, legs down. Twist your hands in opposite directions and the tail will break free of the body.
• Now place the tail down flat on a cutting board, underside facing up. Take a heavy knife and cut it in half, lengthways.
• The meat can now be removed from the shell. You will find the anal tube running centrally along the top of the tail; this should be removed and discarded.
• Break off the legs at the body joint.
• You can now cut the upper body in half and pick the meat out of that, too. There is usually a bit of brown ‘gravy’ involved here; some people like it, and some don’t.
• An alternative method is to just split the cray in half, lengthways, with a heavy knife or cleaver.
The best bit
Now you are ready for the best bit – one of the great parts of our Kiwi lifestyle – enjoying some kaimoana. My preference is to eat the meat cold, but don’t leave them sitting in the fridge for more than a couple of days, as the fine meat in the legs will dry out. The tail meat is cut into smaller portions, and the legs are great ‘finger food’ appetisers that are fun to snap open with your hands. The big fighting claws at the front may require a little mechanical aid to open. I tried a pair of needle-nosed shears, originally designed for crabs, that a friend brought back from a New York store. They were great for the heavy work – I hope someone imports some here.
For a dipping sauce, should one be required, I usually knock up a mix from whatever condiments are around. My favourite is a blend made up of roughly one-half mayo or tartare sauce; one-quarter tomato sauce; and one-quarter sweet chilli sauce. You can throw in a little lemon or lime juice too, if you have it – delicious!
On a sunny day at the beach with the surf rolling in, or on the back of the boat in an evening anchorage, accompanied by a fresh baguette and a cold beer (or a crisp pinot gris, if you prefer), there is not a finer meal than a freshly-cooked cray on this watery planet, I promise you.
![]()
February 2023 - Sam Mossman
New Zealand Fishing News Magazine.
Copyright: NZ Fishing Media Ltd.
Re-publishing elsewhere is prohibited
Fishing Reports Visit Reports
Tauranga Fishing Report - 28/05/26
Tarakihi on the bite Trips are few and far between at this time of year,... Read More >
Canterbury Fishing Report - 28/05/26
Fresh and salt turning it on! It is not very often I get to say... Read More >
Bay of Islands Fishing Report - 28/05/26
Lures paying dividends We finally had a break in the SE winds that have been... Read More >
Manukau/West Coast Fishing Report - 28/05/26
Snapper and gurnard in the harbour The weather has finally taken a turn for the... Read More >


Major Bites
Minor Bites
Major Bites
Minor Bites
Comments