
Netting flounder - tips and techniques
- 2 Comments
Working the tide - a guide to successful drag-netting

Exploring new types of fishing keeps me challenged and inspired – that’s why I’ve taken up drag-netting in sheltered harbours and on sandy beaches over recent years.
In the process, I’ve found drag-netting can be a very rewarding way to fish, with most trips providing a very tasty feed or two. It also provides a reasonable amount of exercise, and by working in with a group of other people, you’ll find it more enjoyable.
From an environmental point of view, drag-netting has many pluses. For example, any unwanted by-catch can be easily released alive and you can be very selective about the fish you keep. Also, as set-net bans have been put in place and are likely to be extended over the next few years, learning to drag-net enables you to continue catching flounders.
Picking the right net, location and tides are important. While still a relative newcomer to drag-netting, I’d like to outline some tips and tricks I’ve learned over the last year to make your drag-netting trips more successful.
Fundamentals
The fundamentals of drag-netting are straight forward.
You need at least two people – but having a third or fourth person makes it more fun.
A net of up to 40-metres length is allowed, with the mesh width and depth setting for your area being specified by MPI (refer http://www.fish.govt.nz/en-nz/Recreational).
Place the net in a container (no holes) that can be easily brought out from the shore into water that’s as deep as practically possible. Having neoprene waders with no leaks is a bonus, and wear a life vest for safety.
Once you have walked out, the second person walks the net out to the side – again, staying as deep as possible.
It is important to check that the float and the lead lines do not twist over. Ropes of up to 8 metres in length are tied onto the lead line and float line (warps) and then tied onto a strong but lightweight pole.
Next, simply walk straight in towards the shore. As you move in, the net will curve; it’s important to walk the net into the shallows – most fish will be funnelled into the net’s belly.
Be sure to cover new ground with each drag.
Conditions
Check that the area you’re drag-netting does not have any large snags or sharp rocks. If possible, visit the location on a very low tide and mark any rocks on a hand-held GPS. The cleaner the ground the better. If the net does snag up during the drag, having a third person to free the net becomes useful.
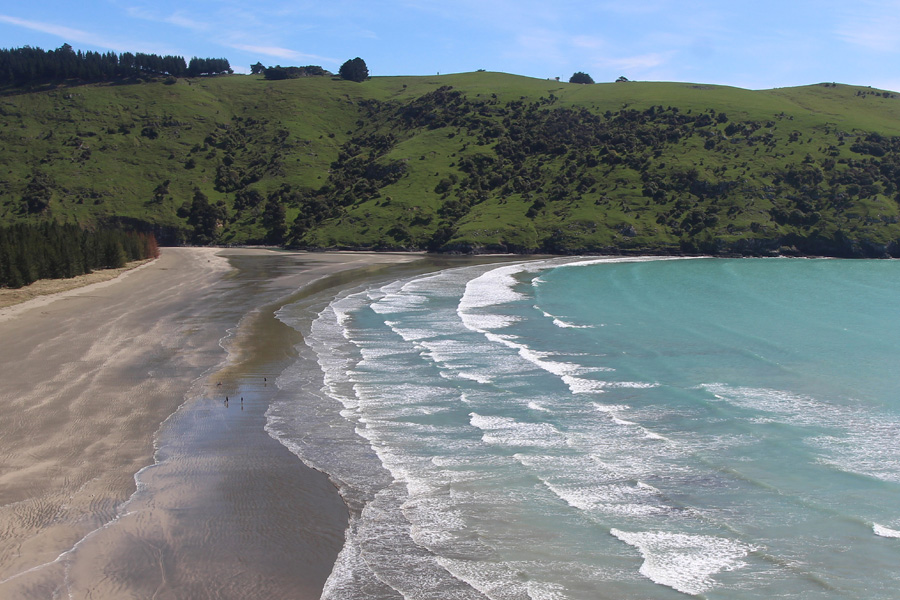
Overall, I have found drag-netting on the last of the outgoing and the start of the incoming tide to be the most successful. You can drag-net on a mid to high tide too, as long as there is enough clean ground to haul the net ashore onto. Low tide is best, though, and becomes even more productive when coinciding with low light or the hours of darkness, especially in harbour and estuary environments. If drag-netting during the day, areas with discoloured water are favoured. When drag-netting sandy surf beaches, the time and tide are not as important, but choosing a day without too much swell or wave action enables longer and more successful drags. Drifting weed can be a problem, so go drag-netting after a few days of offshore winds.
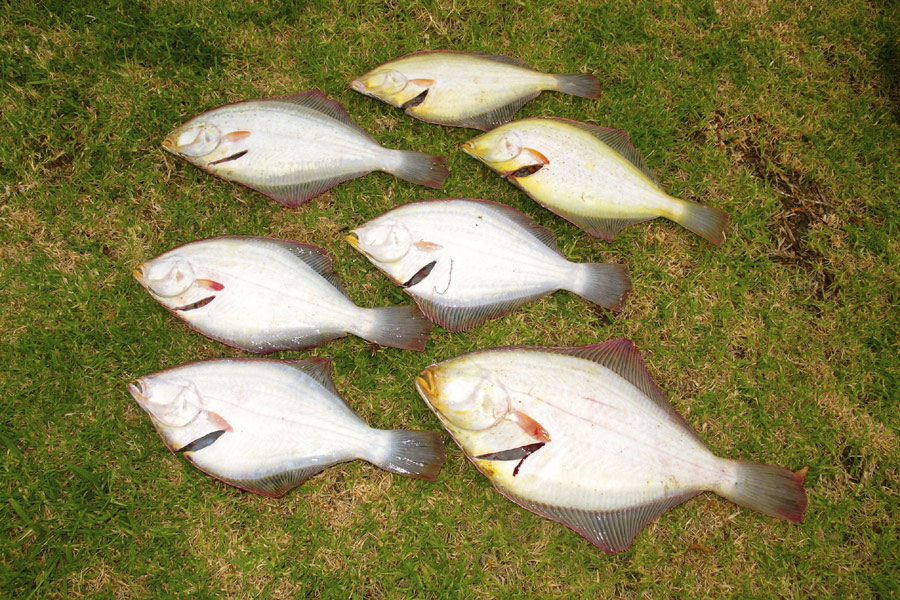
Drag-netting can be done all year round, but overall the warmer summer months are more productive as many types of fish come into shallow water. A wide range of fish species can be caught in a drag-net, although overall flounders are the main target. In the South Island, rig (spotty sharks) – sometimes large specimens – can be taken in drag-nets in remarkably shallow water. Snapper and gurnard are also taken up north as by-catch. At times you can catch large numbers of paddlecrabs; the smaller ones make top bait and the larger ones are great eating – especially when caught from open ocean beaches.
The process
Drag-nets of around 30 metres are best for most situations, with the modest size making them more manageable, especially if there are only two people.
Overall, cord drag-nets seem to be the most effective, but you can often modify a nylon set-net into a drag-net – something many people have done after finding themselves subject to set-net bans – but check that it complies with MPI’s specifications!
However, a 40-metre net can be used with four people; you can use a dinghy to tow the net out from the shore into deeper water, but regulations do not allow the net to be mechanically hauled in.
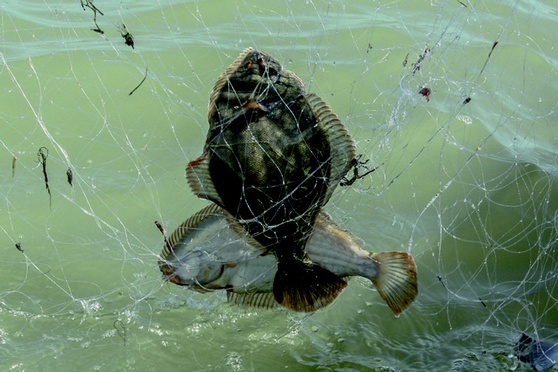
Often the flounders will not be tangled in the drag-net, instead just sitting on the net mesh, so it’s important to smoothly and steadily haul the net ashore.
Afterwards, check for any holes. Having a repair kit on hand to stitch any damage done on the spot is a good idea.
Safety first
Drag-netting generally involves wading – and you never know when you might step into a deep hole or channel – especially on surf beaches or near river mouths. Having a buoyancy vest is simply common sense. Also, keep a diver’s knife accessible in case you get tangled in the net. Take extreme care anywhere there are strong currents – that’s another reason why slack low tide is a good time to target in the more tidal areas.
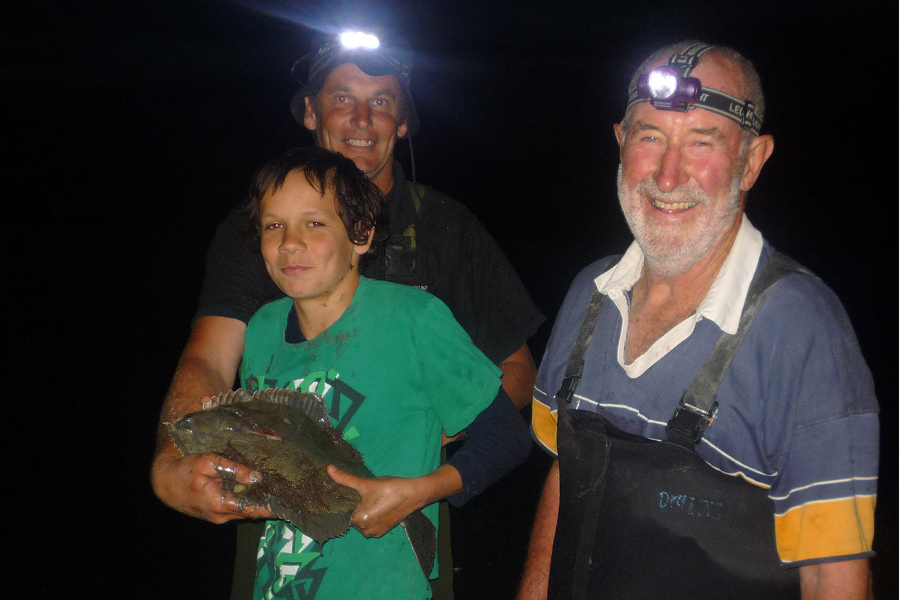
A good head torch (and back-up) is a must if working in the dark hours, as is a cell phone. I take a backpack out when drag-netting, and have the essential gear stored in watertight containers.
Overall, drag-netting can be a fun and productive way to fish with a few mates – especially over the summer months and into autumn (which is often the best time of year for flounders). It requires a bit of gear and preparation, but is a great way to get exercise while taking in the sea air. The magical time as the light lowers and the water recedes on the low tide is the time I love to work the tide.
|
|
Fishing Reports Visit Reports
Tauranga Fishing Report - 28/05/26
Tarakihi on the bite Trips are few and far between at this time of year,... Read More >
Canterbury Fishing Report - 28/05/26
Fresh and salt turning it on! It is not very often I get to say... Read More >
Bay of Islands Fishing Report - 28/05/26
Lures paying dividends We finally had a break in the SE winds that have been... Read More >
Manukau/West Coast Fishing Report - 28/05/26
Snapper and gurnard in the harbour The weather has finally taken a turn for the... Read More >


Major Bites
Minor Bites
Major Bites
Minor Bites
Comments