
25 soft baiting tips
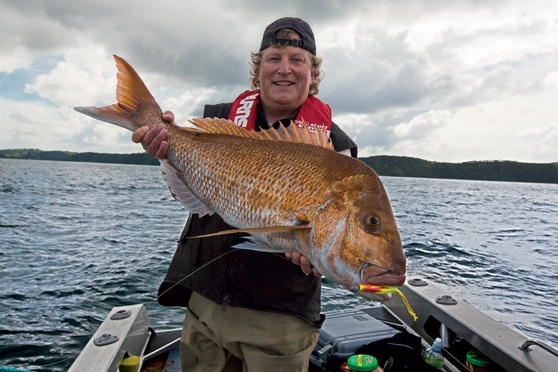
One of the great things about fishing with soft-baits is you can do everything wrong and still catch fish. However, doing things right will take your fishing success to a completely new level... Mark Kitteridge shares 25 soft baiting tips
1. A specialist soft-plastic outfit is a must to realise soft-baiting’s potential. More specifically, the components are…
2. The rod: This is a critical part of the soft-baiter’s equipment. Ideally, it should be a seven- to eight-foot long (longer rods are better) graphite spin rod with 5–8kg line capabilities, not too whippy in the tip section (for hook sets), and a butt section that enables double-handed casts. Other worthwhile features include lightweight guides, a comfy reel seat, and a decent fore-grip to fight fish effectively. The longer rod length is especially advantageous, enabling: lures to be cast further; the line to be more effectively controlled in the air and on the water; and for hooks to be successfully set at a distance.
3. The reel: Suitable reels need a smooth drag and should hold at least 200 metres of 5-8kg braid. I prefer spinning reels over baitcasters (even though the latter have a couple of significant advantages), because they cast light weights further, enabling more area to be covered.
4. Braid: Use brightly-coloured lines of around 8–9kg actual breaking strain, which typically translates to lines labelled as 5–6kg on the re-fill spool. Thinner braids cut through the wind and current better, but become hard to see (tip 32 in next month’s issue explains why using highly visible line is a huge advantage).
5. Trace material: Three metres of 15–20lb breaking-strain fluorocarbon provides insurance against big fish bust-offs when fishing in rugged territory.
6. Jig-heads: Have a selection; 3/8–5/8 ounce are the most commonly used. Heads with a luminous or ultraviolet light-reflecting coating can be more effective at times. A 3/0 hook size is best: small enough for fish to eat easily with the lure and strong enough to hold them afterwards.
Which soft-plastic lures?
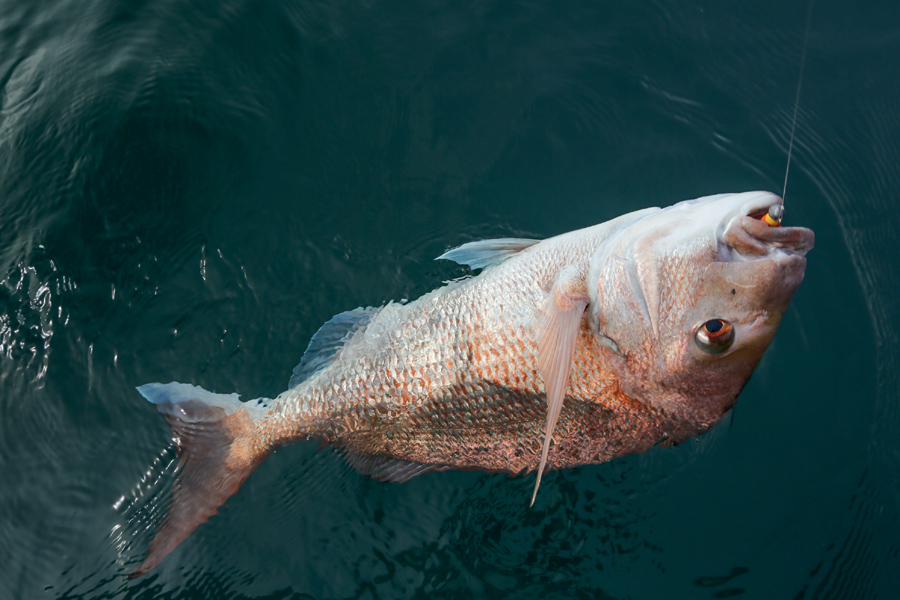
7. Nearly all soft-plastics will catch fish, but some are better than others. Gulp! is very popular and effective, but reasonably fragile, making them a relatively expensive option when squid, wrasse and leatherjackets are around. However, decent snapper will often take even severely mutilated/ shortened Gulps!
Z-Man soft-plastics are much tougher, but can get pulled down the hook or rearranged when grabbed or bitten. They require regular scent additive applications for best results.
8. Carry different soft-plastic lure options in natural colours (brown-ish, squid-like ones and various baitfish imitations), as well as brightly coloured baits, especially those with highly contrasting colours (i.e. red-green, yellow-brown/red). One very effective colour, called ‘Motor Oil,’ is neither natural nor bright, but is very effective nonetheless (perhaps due to UV refective qualities?).
9. Soft-baits with luminous qualities can work well in deeper water or during dull/dark conditions.
10. All sizes of soft-baits catch snapper, but 4–7 inch models generally catch plenty of eating-size fish while being less attractive to undersized snapper.

Useful accessories...
11. A scent additive/fishy ‘potion’ really helps when using unscented lures. If it’s a scented grease, lay a long line of it inside the belly slit every two or three casts. Store ‘Secret Sauce’ bottles upside down in your pocket to keep the contents viscous and near the top for quick, hassle-free application.
12. Small clips, such as a Mustad Fastach or Sea Genie, can be useful, especially if you have just one rod, enabling quick jig-head changes. However, large snapper occasionally swallow the whole lure and crush the clip, allowing them to escape.
13. As soft-baiting works best from a drifting boat, you will need a drogue to slow the drift speed when the wind is too strong, or to harness the current and overcome slight headwinds that can hold the boat too stationary.
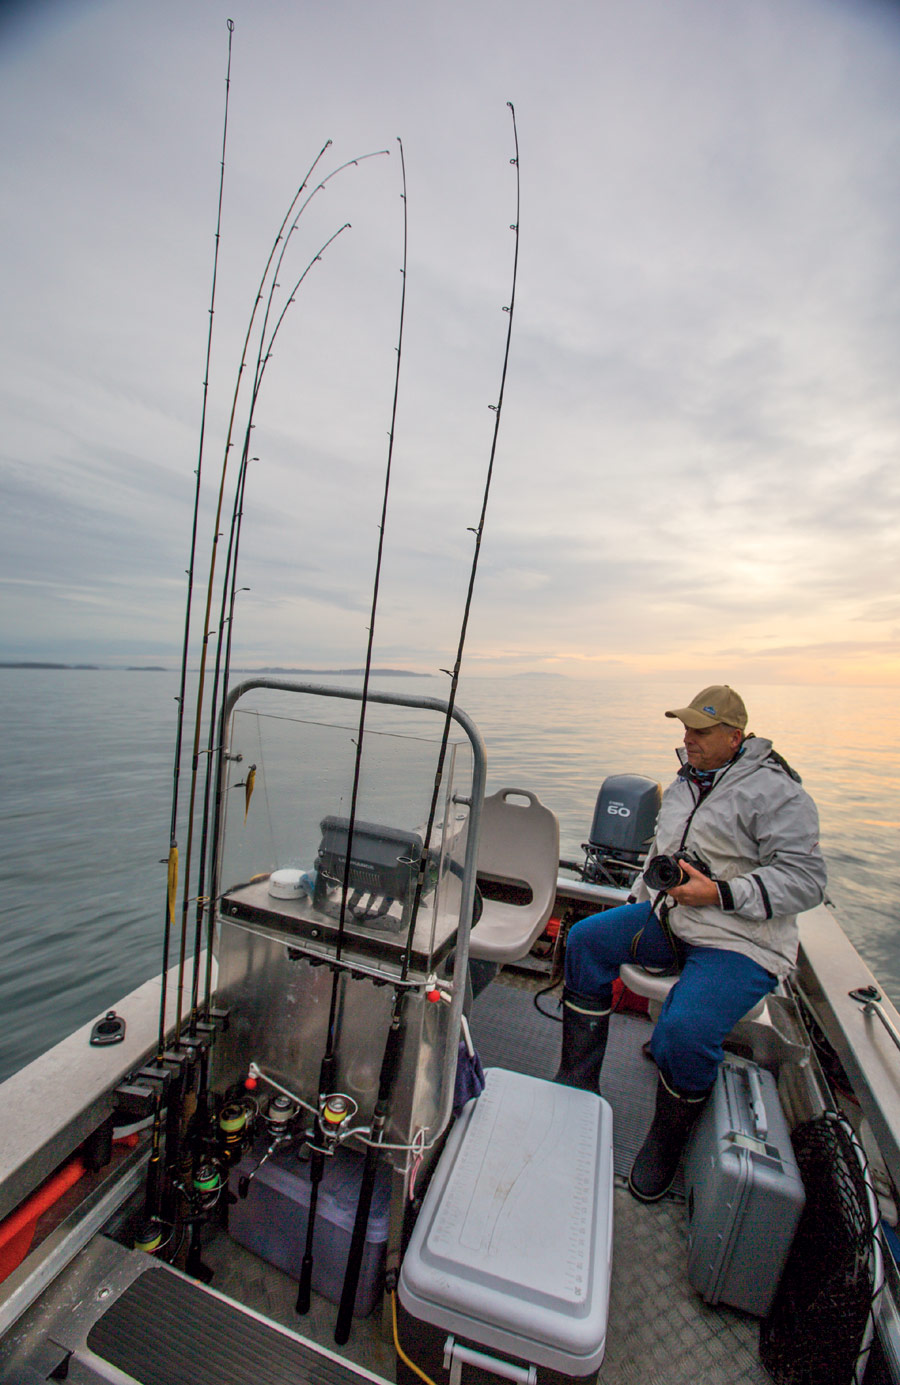
14. Extra outfits! Take extra soft-baiting sets rigged with different lead-head weights so you can instantly chop and change at in response to changes in depth and current.
Preparation
A big part of a successful day is your preparation before you start fishing...
• Use a durable, streamlined/compact braid-to-trace knot that maintains good breaking strain over time. Back-to-back Uni knots are popular, but not ideal. An adapted Albright probably provides the best result for the effort, but the PR and FG knots cannot be beaten. While they take longer to master, they are very streamlined and strong.
• Tie knots to jig-heads/clips on the day if possible, as most knots weaken over time. It also pays to retie knots after tough fights or prolonged hard use. A Rapala/Lefty Kreh loop knot is strong and allows the jig-head more movement than a Uni or Clinch knot.
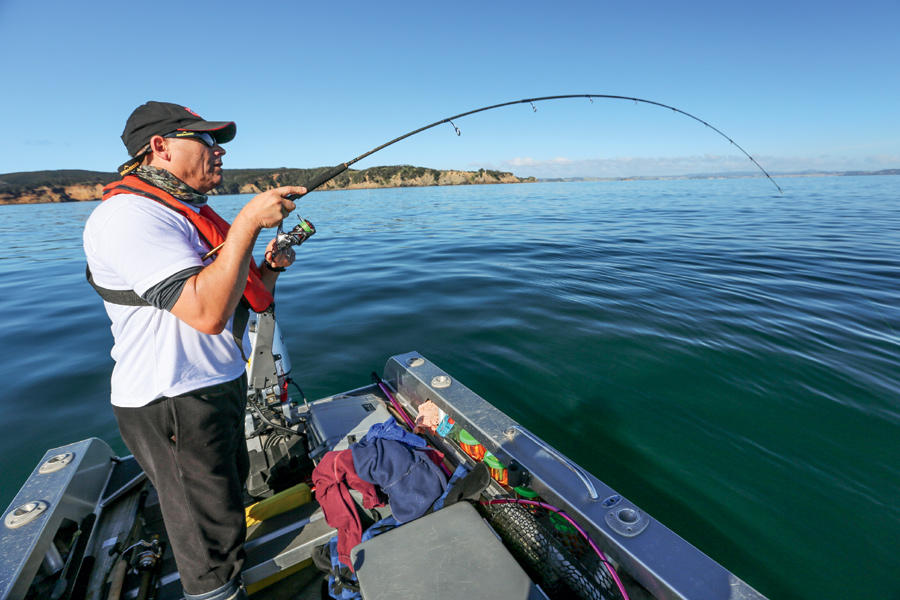
15. Set the drag before going out. Treat the braid as if it’s around 6kg breaking strain (rather than the 8-10kg it really is) and set the pressure accordingly; around 3kg of drag does the job.
16. Rig soft-plastic tails so they sit straight on the hook – bent/offcentre tails can spin when moved, deterring wary snapper.
Likely areas
Snapper can be found almost anywhere, but the following zones are especially productive…
17. Shallow areas (3-8m) of weedy/reefy ground, running adjacent to deeper water/channels with reasonable current.
18. Deeper areas over foul ground or sandy/silty territory with a significant change in depth (i.e. channels and drop-offs), again accompanied by current.
19. Over relatively open territory that provides the various sea creatures snapper enjoy eating (i.e. shellfish, crabs, sea worms etc).
20. Around active baitfish work-ups attended by various predators, including: sea birds (gannets and shearwaters are best known, but even penguins and shags can indicate underwater activity); mammals such as dolphins and whales; and pelagic fish such as kahawai, kingfish and even small tuna.
21. Where work-ups have recently been. Check out rafts of sitting seabirds, especially gannets and shearwaters. Position the boat to intercept any work-up debris drifting down-current from the activity to snapper hanging further back.
Braid to fluoro/nylon trace connection
While the FG knot is better for joining light trace material (i.e. 6-12kg) to the thin braid typically used when fishing soft-plastics and slow-jigs, this adapted Albright knot is much easier and quicker to tie.
Step 1
i) Fold over one end of your trace to produce a doubled section around 12cm long.
ii) Insert around 30cm of doubled mainline through the base of the folded-over trace.
iii) Wind five times around both trace strands heading outwards.
Step 2
iv) Reverse back five times over the doubled-over trace line
v) Exit the base from the opposite side to the one entered.
vi) Slowly pull on the braid strands to tighten the knot.
Step 3
vii) Once the braid spirals have condensed down in an orderly manner and are firmly in place, pull hard on both lines to ensure the knot won’t slip
viii) Cut off trace and mainline tagends, leaving just two or three millimetres sticking out.
The Rapala Loop knot (aka Lefty's/Harrison's Loop)
Step 1
i) Form an overhand loop in the trace.
ii) Thread the tag-end through the lead-head’s eyelet.
iii) Feed the tag-end through the overhand loop, making sure the tag-end enters from the same side the overhand loop exits.
Step 2
If the loop remains positioned too far up the trace, a very big loop will result, so use your thumb and forefinger to push and ‘roll’ the loop along the trace so it’s closer to the lead-head, before rotating the tag-end around the traceline three times, producing six twists.
Step 3
Thread the tag-end through the nearest part of the initial overhand loop. This is made easy by pressing the nearest part of the loop down with your thumb, opening the twist.
Step 4
Holding the lure in one hand and the trace in the other, tighten the tag-end a little with your teeth, before letting it go and slowly pulling the knot up with your hands. You may need to again pull on the tag-end with your teeth while pushing down on the knot with your fingertips to make it snug down properly and be more compact. It takes a bit of practice to get the loop nice and small.
Placing soft-plastic tails on lead heads
Please note, this is for very pliable softplastics with belly slits – Gulps can be fed straight onto the hook, rather than spun around mid-process…
Step 1: Line up the two items to get some idea how far along the soft-plastic tail the hook will need to be fed before exiting.
Step 2: Position the hook point in the middle of the soft-plastic tail’s circumference, then push it in and feed around the hook’s curve, keeping it as centrally located as possible.
Step 3 and 4: Angle the hook so it emerges out the belly slit, then keep feeding the rest of the tail up over the hook-shank’s soft-plastic-holding segment.
Step 4: This is how the tail and hook should look mid-process.
Step 5: Spin the hook around and insert back through the soft-plastic body.
Step 6: If you have judged correctly, the lure should now be sitting nice and straight along the hook. If it’s bent like a banana or skewed, simply remove the hook and repeat step five until you get it right.
|
|
----- Advertisement -----
|

Fishing Reports Visit Reports
Outer Hauraki Gulf Fishing Report 17/09/26
Spring wind the handbrake. Spring is starting to make its presence felt in the outer... Read More >
Top of the South Fishing Report - 17/09/26
Early snapper in Tasman Bay. Well, spring is finally here, and the days are getting... Read More >
Bream Bay Fishing Report - 17/09/26
Good snapper catches reported. After Tangaroa turned off the fish tap for a month or... Read More >
Bay of Islands Fishing Report - 17/09/26
Pacific bluefin tuna for the lucky few. The last fortnight has seen more fishable days... Read More >


Friday 25 September 2026
Major Bites
 - -
- - Minor Bites
 - -
- - Saturday 26 September 2026
Major Bites
- - Minor Bites
- -
Comments