
Fishing Basics: Basic Knots & Rigs
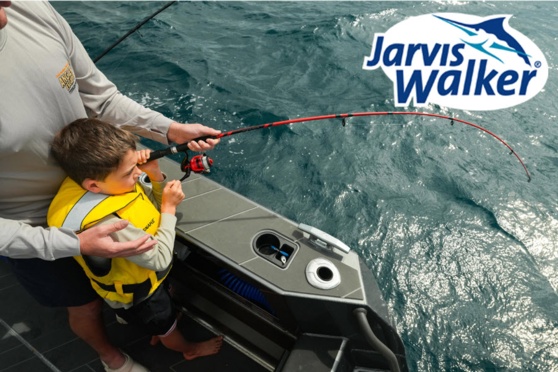
Mastering a handful of knots and understanding the right rigs for New Zealand’s diverse fishing situations is the foundation of successful fishing. You can have the flashest boat, the latest sounder, and a tackle box overflowing with lures, but if your knots and rigs fail, you’ll be going home with nothing but excuses! From straylining for snapper, to targeting kingfish with lures and livebaits, to bottom bashing for tarakihi and blue cod, here’s your guide to the knots and rigs every Kiwi needs in their back pocket.
Why knots matter
Knots are literally the weakest link between you and your fish. A poorly tied knot can reduce line strength hugely and unravel under pressure, while a well-tied one might only shave around 10% of line strength off. The good news? You don’t need to learn every knot under the sun. The best approach is to learn a few and learn them well. The staple knots below will cover 90% of New Zealand inshore fishing situations.
Essential knots
1. Uni knot
If you’re only going to learn one knot, make it the uni. It’s versatile, strong, and works on both mono and braid. It is used for tying hooks or lures to leader, attaching swivels, or even joining two lines together with a ‘double uni’.
How to tie it:
• Pass the line through the hook or swivel eye and double back 10cm.
• Form a loop and make 5–6 turns around both the standing line and loop.
• Moisten, pull tight, and slide down snug against the hook or swivel eye.
https://www.youtube.com/watch?v=f1pFMWc0ZP0
2. Improved clinch knot
This is the classic knot most of us first learned to attach hooks and swivels, and it still earns its place. It’s easy and fast, particularly with lighter line, but is not quite as strong as a uni knot.
How to tie it:
• Pass line through hook eye and make 5–7 wraps around the standing line.
• Thread the tag end back through the first loop by the eye, then through the big loop created.
• Moisten and pull down tight.
https://www.youtube.com/watch?v=6QbJfpsGpmM
3. FG knot
This one’s a little trickier, but it’s the best braid-to-fluoro/mono leader knot you’ll ever use. The FG knot gives a slim profile that zips through rod guides easily, making it a great knot for casting lures.
Here’s a good tutorial. Remember – practice makes perfect!
https://www.youtube.com/watch?v=OspalmmFdeg
4. Dropper loop
Perfect for setting up ledger rigs, the dropper loop creates a strong, fixed loop in the line where you can attach hooks. It’s a rig-builder’s staple for bottom fishing. To tie a dropper loop, make a loop in the leader, twist the looped end around the main line 3-4 times, push the loop end through the created hole, and slowly tighten by pulling the main line while holding the loop.
https://www.youtube.com/watch?v=c0Q57HrnHLk
5. Sinker loop
To tie a sinker loop, you double over the line at the tag end, then create a loop with the doubled line. Pass the tag end through the loop twice and pull tight. This knot is handy for quick sinker or rig changes – just be careful not to use it to make dropper loops for ledger rigs, as it is not designed to hold under that angle of tension.
https://www.youtube.com/watch?v=zDYQ-oIDbUo
Rigs for Kiwi conditions
1. Ledger rig
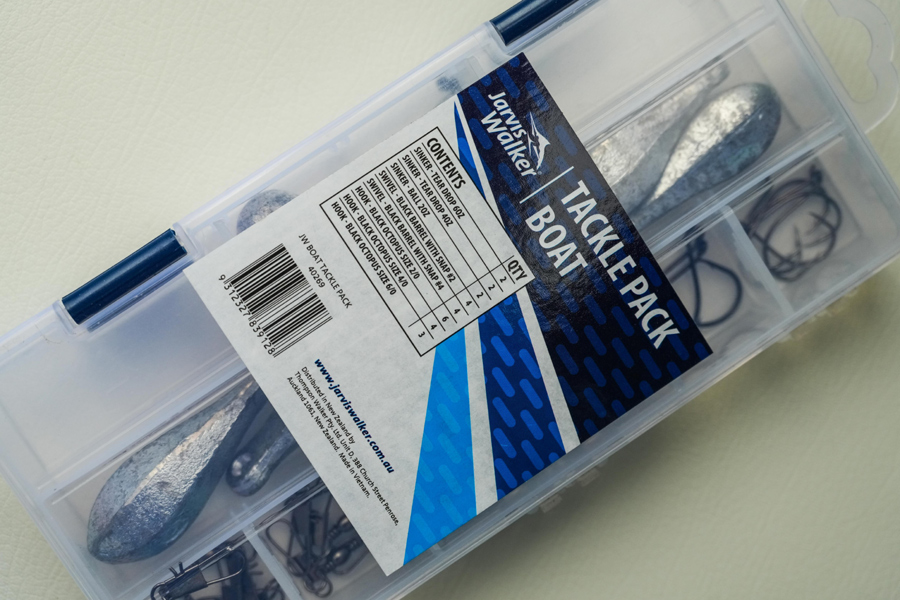
Also called a dropper rig or paternoster rig, this is the go-to for deep water or when the current is running strongly. It’s also a simple rig to use for surfcasting or wharf fishing. Being simple to manage once on the bottom, it’s a perfect rig for the kids and for targeting fish like blue cod, gurnard, and tarakihi that feed on the seafloor. Use dropper loops in your trace to attach 2–3 hooks, add a sinker at the bottom to keep baits near the seafloor, and wait for the bites! Jarvis Walker has a great range of pre-tied ledger rigs to make life even easier.
2. Strayline rig
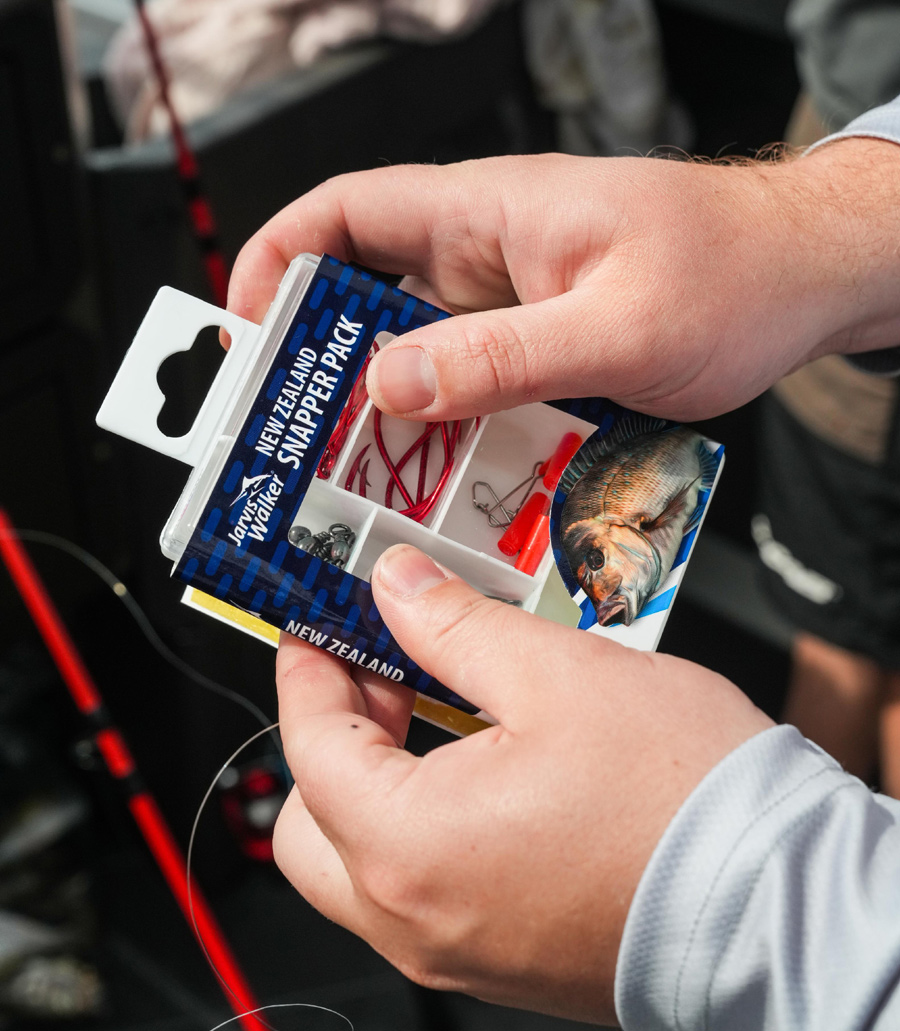
The bread and butter of snapper fishing in New Zealand. A simple trace with one or two hooks at the end, with either no sinker or a small ball sinker that runs freely down to the bait. The idea is to let your bait waft down the water column as naturally as possible. The strayline rig is great for fishing over shallow reefs or when rockfishing, as it will reduce the chances of snagging the bottom.
3. Running rig
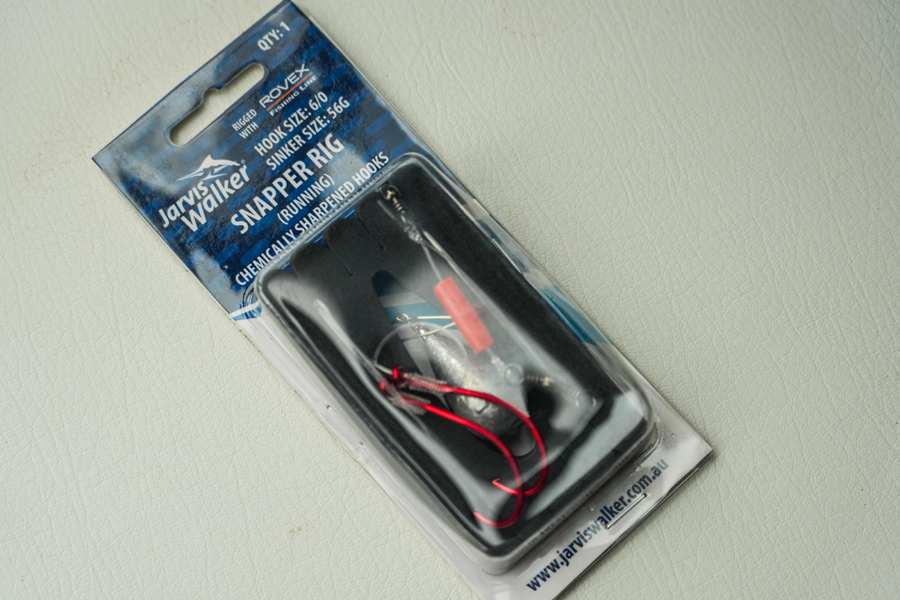
A step between the strayline and ledger rigs. Your sinker runs freely above a swivel, with a trace attached to a hook below. It allows the fish to pick up the bait without feeling resistance. The running rig is great for snapper fishing, surfcasting, and livebaiting for kingfish or john dory. The sinker can be replaced with a float or a balloon for surface livebaiting for kingfish. You can grab a pre-tied running rig from Jarvis Walker, too!
4. Lure rigs
When using lures like jigs, spinners, softbaits, or poppers, it’s best to use braided mainline with fluorocarbon or monofilament leader directly attached via an FG knot. Ditching the swivel allows a better lure presentation and makes casting easier.
Summing up
Knots and rigs are best learned with repetition. Tie them at home over and over again, and by the time you’re out on the water, muscle memory will take over. For now, start with these essentials, keep it simple, and remember: the fish don’t care how flash your gear is – but they will punish a sloppy knot!
And remember, Jarvis Walker has a bunch of gear and pre-tied fishing rigs to make life easy. For all your fishing tackle and boating equipment, visit jarviswalker.co.nz
For all your fishing tackle and boating equipment, visit jarviswalker.co.nz
- NZ Fishing News
Fishing Reports Visit Reports
Canterbury Fishing Report - 23/07/26
Lake fishing strong July is close to an end, our duck season is closing this... Read More >
Northland Fishing Report - 23/07/26
Inshore snapper fishing heating up It’s officially past the halfway point of winter, and the... Read More >
Bream Bay Fishing Report - 23/07/26
Winter kahawai abound Kahawai and kingfish have ‘invaded’ Bream Bay over the last few weeks,... Read More >
Inner Hauraki Gulf Fishing Report - 23/07/26
Choose a spot and stick with it Why the chill factor of the wind affects... Read More >


Major Bites
Minor Bites
Major Bites
Minor Bites